这篇“Vue如何实现当前页面刷新”文章的知识点大部分人都不太理解,所以小编给大家总结了以下内容,内容详细,步骤清晰,具有一定的借鉴价值,希望大家阅读完这篇文章能有所收获,下面我们一起来看看这篇“Vue如何实现当前页面刷新”文章吧。
学习JS的过程中,大家应该都了解过Browser 对象,其中Location 对象是 window 对象的一部分。Location 对象中有一个方法,也就是reload()方法,用于刷新当前文档,类似于浏览器上的刷新页面按钮。
代码测试:
<template>
  <div class="hello">
    <img src="../imgs/01.jpg" alt="" />
    <button @click="refresh">点击刷新页面</button>
  </div>
</template>

<script>
export default {
  name: "HelloWorld",
  methods: {
    refresh() {
      location.reload();
    },
  },
};
</script>

<style scoped>
.hello img {
  width: 800px;
  display: block;
  margin-bottom: 20px;
}
</style>
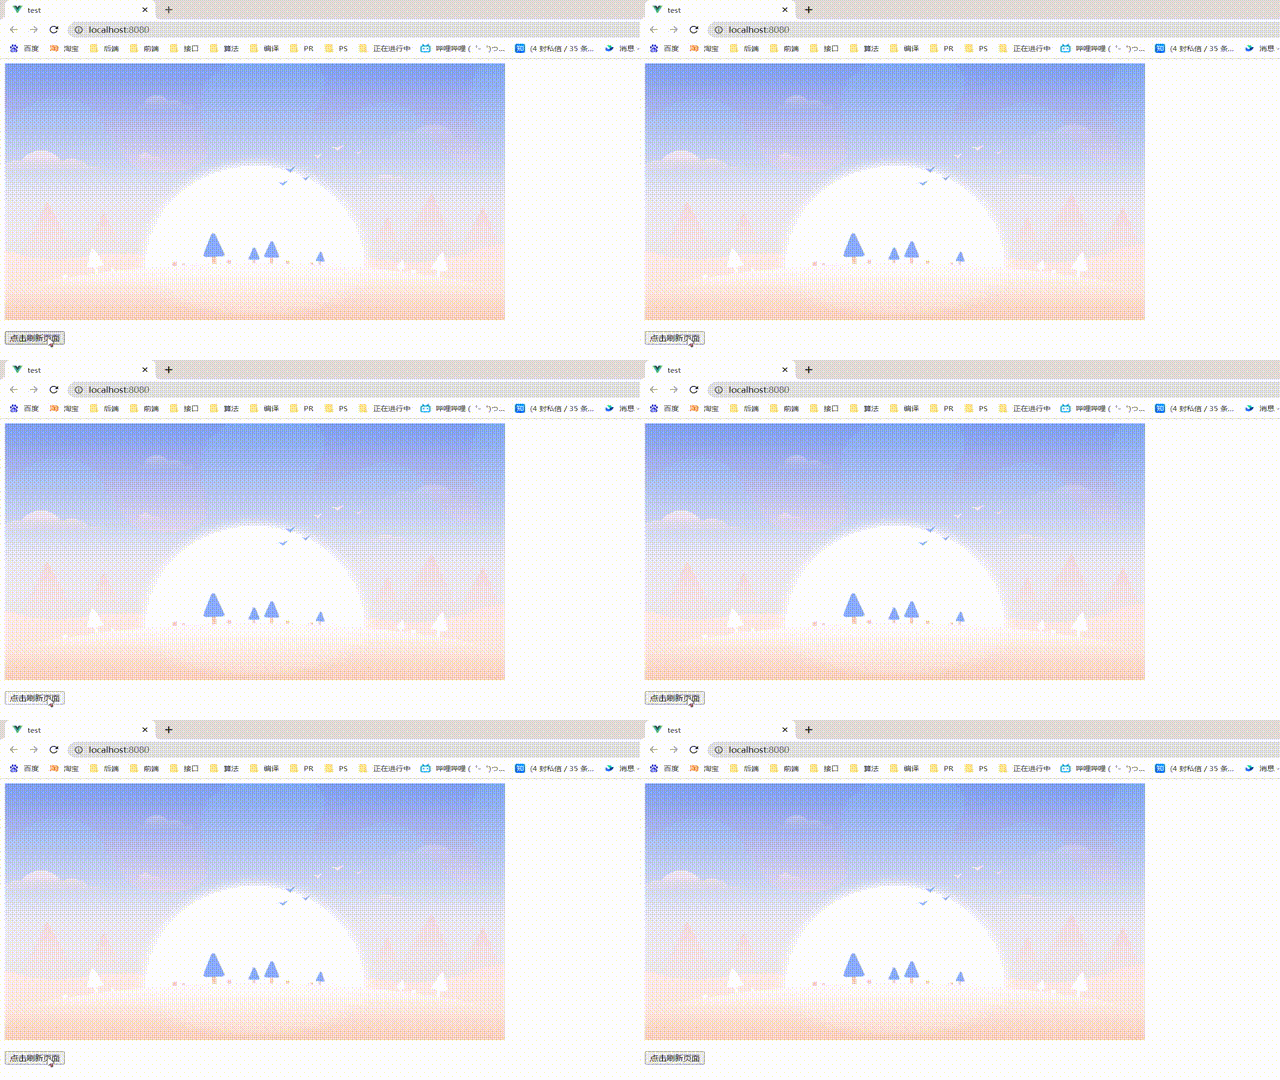
效果展示:

缺点: 想必大家都能看出来了叭,一闪一闪亮晶晶~
这种方法大家应该比较熟悉了,学过vue路由跳转的都知道$router.go()的作用:
> this.$router.go(-1):后退+刷新;
> this.$router.go(0):刷新;
> this.$router.go(n) :前进n个页面
这个方法等同于上面的location.reload,也是利用浏览器的刷新功能,疯狂按F5刷新。。。
代码测试:
<template>
  <div class="hello">
    <img src="../imgs/02.jpg" alt="" />
    <button @click="refresh">点击刷新页面</button>
  </div>
</template>

<script>
export default {
  name: "HelloWorld",
  methods: {
    refresh() {
      this.$router.go(0);
    },
  },
};
</script>

<style scoped>
.hello img {
  width: 800px;
  display: block;
  margin-bottom: 20px;
}
</style>
效果展示:

缺点: 肉眼可见!会出现一瞬间的空白页面,用户体验不好
首先,我们来认识一下这组选项:
provide 选项应该是:一个对象或返回一个对象的函数。
inject 选项应该是:一个字符串数组,或 一个对象,对象的 [key] 是本地的绑定名。
在学习vue父子组件通信的时候,大家应该都知道这是用来干嘛的了:父组件通过provide向子组件传递数据,子组件通过inject获取数据。
那么$nextTick又是干哈的呢?
$nextTick 又说是Vue的另一个生命周期函数:当你修改完数据(数据更新了)之后,Vue帮你操作完DOM之后,把真实的DOM放入页面了(Dom更新渲染),Vue再帮我们调用这个函数(可以监听DOM元素被修改后,在该函数中写你要执行的逻辑)。
接下来,我们来组合一下思路:
我们在父组件中通过给<router-view></router-view>添加v-if来控制子组件销毁和重建的方式,从而控制页面的再次加载。然后在需要当前页面刷新的页面中注入 reload 依赖,直接通过this.reload来调用刷新。
代码测试:
App组件:
<template>
  <div id="app">
    <HelloWorld v-if="isReload" />
  </div>
</template>

<script>
import HelloWorld from "./components/HelloWorld.vue";

export default {
  name: "App",
  data() {
    return {
      isReload: true,
    };
  },
  components: {
    HelloWorld,
  },
  provide() {
    return {
      msg: "未刷新",
      reload: this.reload,
    };
  },
  methods: {
    async reload() {
      this.isReload = false;
      await this.$nextTick();
      this.isReload = true;
    },
  },
};
</script>
子组件:
<template>
  <div class="hello">
    <img src="../imgs/03.jpg" alt="" />
    <p>{{ msg }}</p>
    <button @click="refresh">点击刷新页面</button>
  </div>
</template>

<script>
export default {
  inject: ["reload", "msg"],
  name: "HelloWorld",
  methods: {
    refresh() {
      this.msg = "我刷新啦!";
      this.reload;
    },
  },
};
</script>

<style scoped>
.hello img {
  width: 800px;
  display: block;
  margin-bottom: 20px;
}
</style>
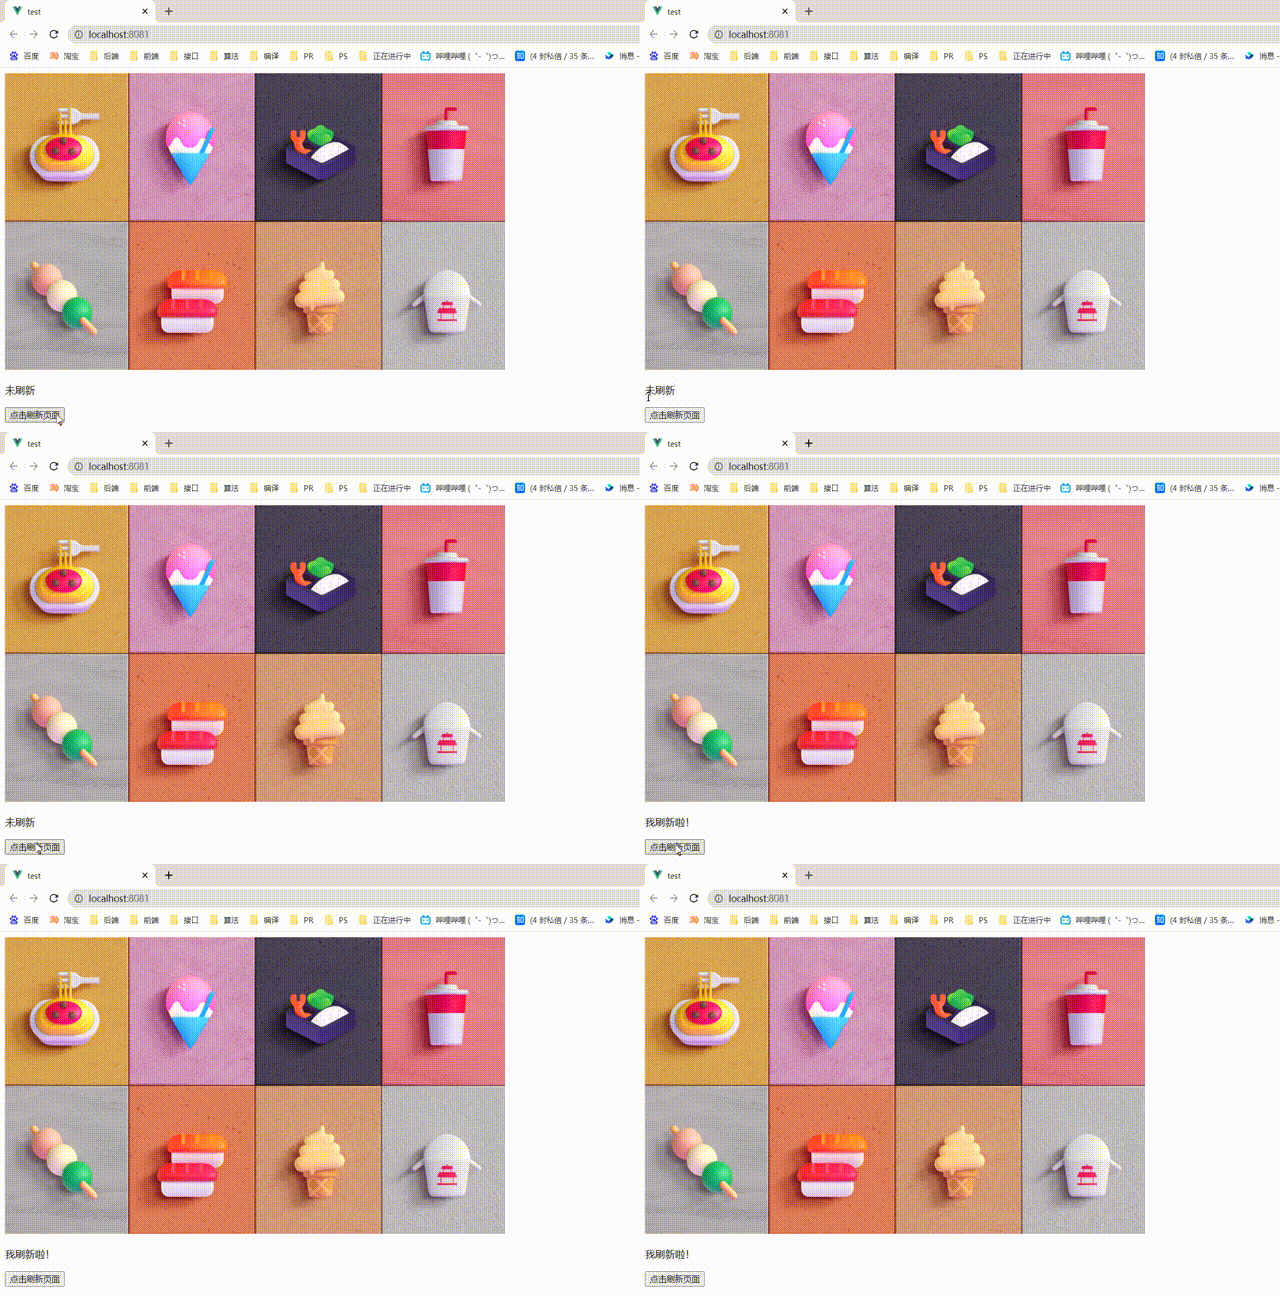
效果展示:

缺点: 可以看到页面不会刷白,但是这种方法也有很多弊端。我们都知道Vue 在修改数据后,视图不会立刻更新,而是等同一事件循环中的所有数据变化完成之后,再统一进行视图更新。这样容易造成事件循环;并且使用provide和inject也涉及到组件的多层级通信,有些繁琐。
这个方法…我此前从没用过,就是利用$router.replace路由跳转到一个空白页面,然后在空白页面中立即执行$router.replace切换到原来的页面。$router.replace不会向 history 添加新纪录,当路由跳转得比较快的时候,不会出现一瞬间的空白页。
代码测试:
空白页:
<template>
  <div class="hello"></div>
</template>

<script>
export default {
  name: "HelloTest",
  created() {
    this.$router.replace(this.$route.query.redirect);
  },
};
</script>


<style scoped>
</style>
需要刷新的页面:
<template>
  <div class="hello">
    <img src="../imgs/04.jpg" alt="" />
    <button @click="refresh">点击刷新页面</button>
  </div>
</template>

<script>
export default {
  name: "HelloWorld",
  methods: {
    refresh() {
      this.$router.replace(`/blank?redirect=${this.$route.fullPath}`);
    },
  },
};
</script>

<style scoped>
.hello img {
  width: 800px;
  display: block;
  margin-bottom: 20px;
}
</style>
路由:
const router = new VueRouter({
  mode: 'history',
  routes: [{
    path: "/",
    component: () => import('../components/HelloWorld.vue'),
    meta: {
      keepAlive: true,
    }
  },
  {
    path: "/blank",
    component: () => import('../components/HelloTest.vue'),
    meta: {
      keepAlive: true,
    }
  }]
})
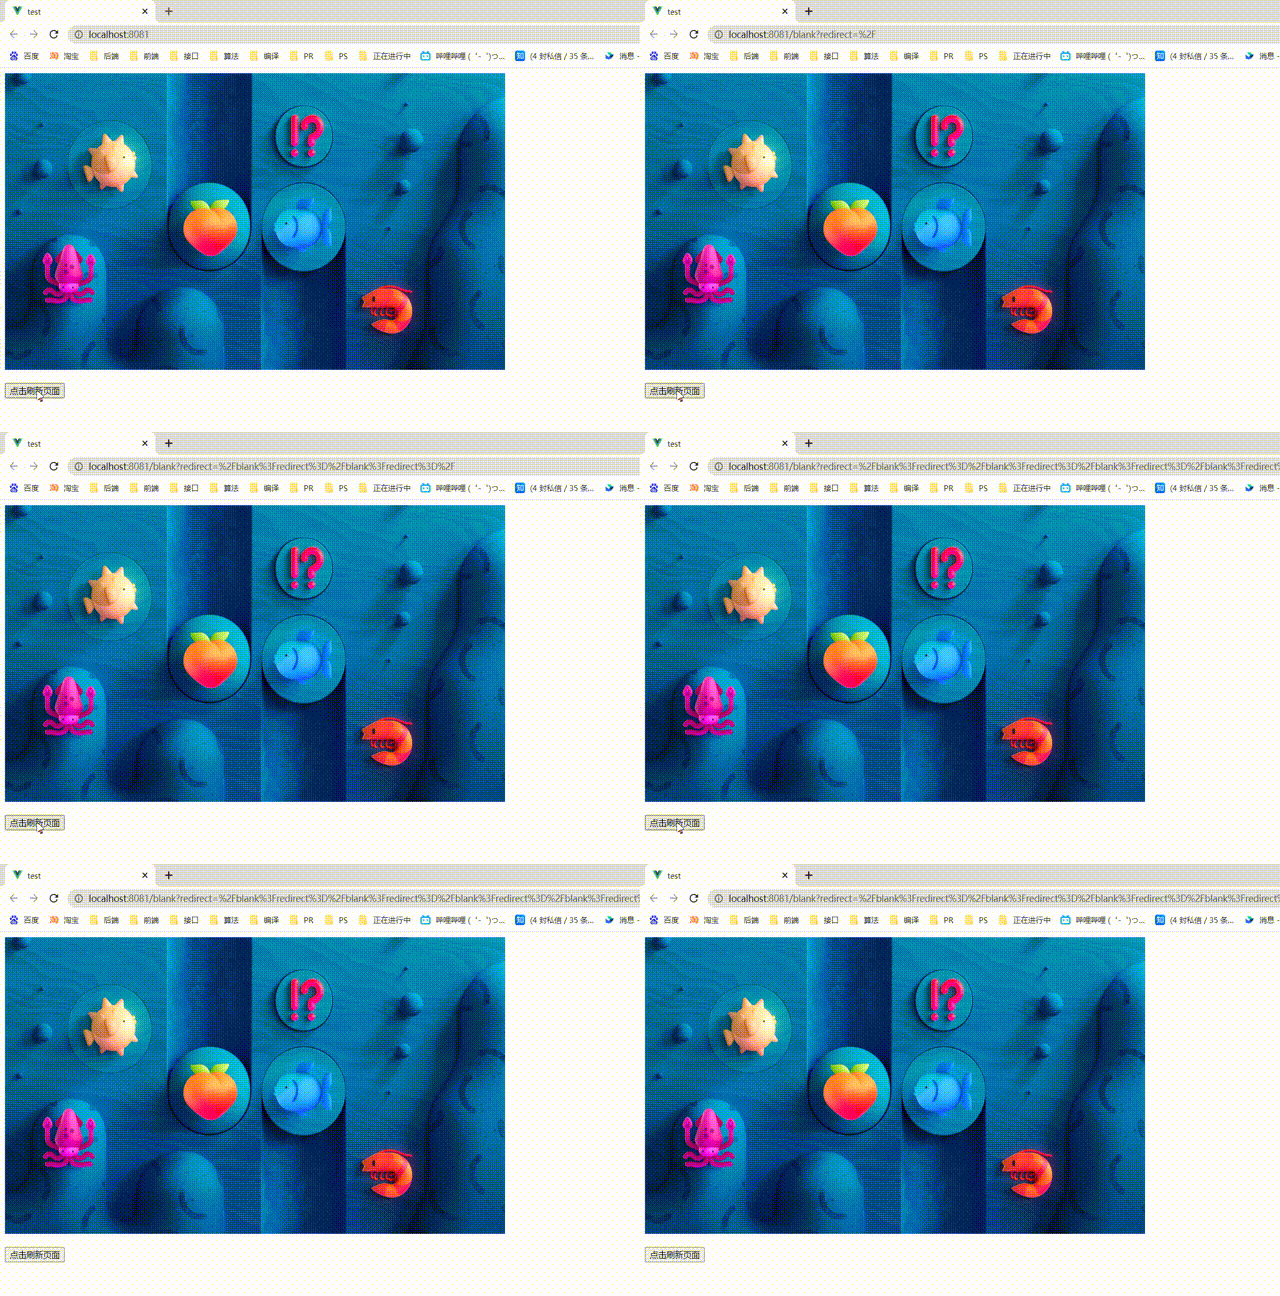
效果展示:

缺点: 大家应该可以看到地址栏的变化。
以上就是关于“Vue如何实现当前页面刷新”这篇文章的内容,相信大家都有了一定的了解,希望小编分享的内容对大家有帮助,若想了解更多相关的知识内容,请关注亿速云行业资讯频道。
免责声明:本站发布的内容(图片、视频和文字)以原创、转载和分享为主,文章观点不代表本网站立场,如果涉及侵权请联系站长邮箱:is@yisu.com进行举报,并提供相关证据,一经查实,将立刻删除涉嫌侵权内容。